Kayaking has become ever more popular in recent years as the price and diversity of kayaks has enabled more people to get started as a hobby, or simply for a bit of fun at the river or beach.
It’s an easy hobby to pick up, and it doesn’t take long to become proficient enough to enjoy yourself.
So, can you teach yourself to kayak?
Yes, you can teach yourself to kayak by watching YouTube tutorials, and by simply giving it a try and learning as you go along. Get started in calm waters, wear a life jacket, and learn to paddle and control your kayak with forward, reverse and sweep strokes.
If you are thinking about recreational kayaking, then you do not need to take kayaking lessons.
If you don’t want to take any lessons, you can learn from various sources online or simply get in the water and learn by doing.
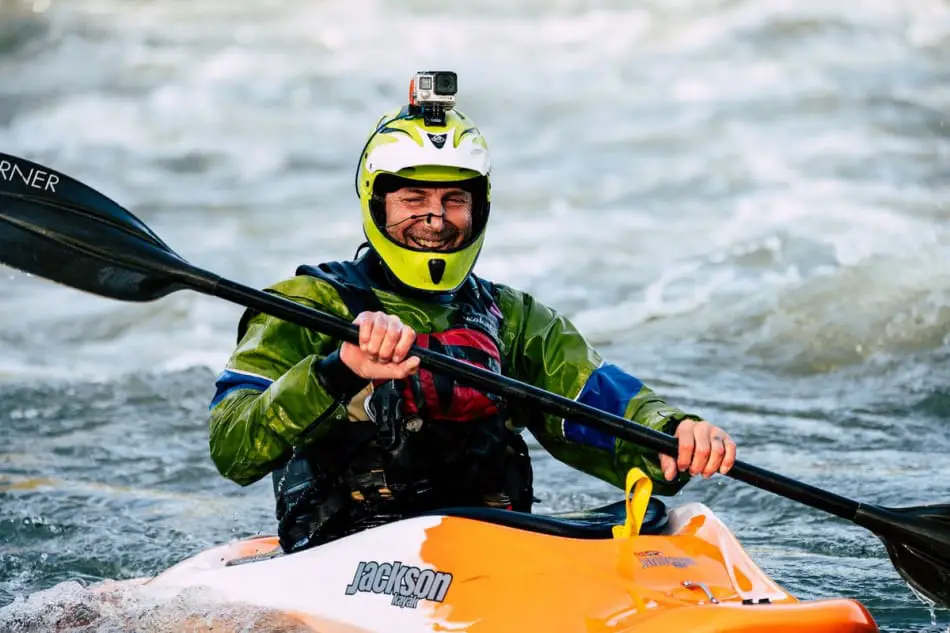
But if you are planning to go whitewater kayaking, sea kayaking, or navigating rivers, then it requires intermediate to advanced level training in the field, so you will need an instructor.
It’s up to you whether you prefer to learn things on your own or not, though the learning curve may be considerably shorter when learning from a professional instructor.
In addition to answering questions that a beginner might have, this article also provides some helpful information for those who wish to learn kayaking on their own.
Before we get into more detail, check out this excellent short tutorial for beginners:
-> Read Also What Is An Autodidact?
Important Things You Need For Kayaking
Here are some things to remember and consider while outsitting yourselves into the waters.
Things You Need to Know About Kayaks
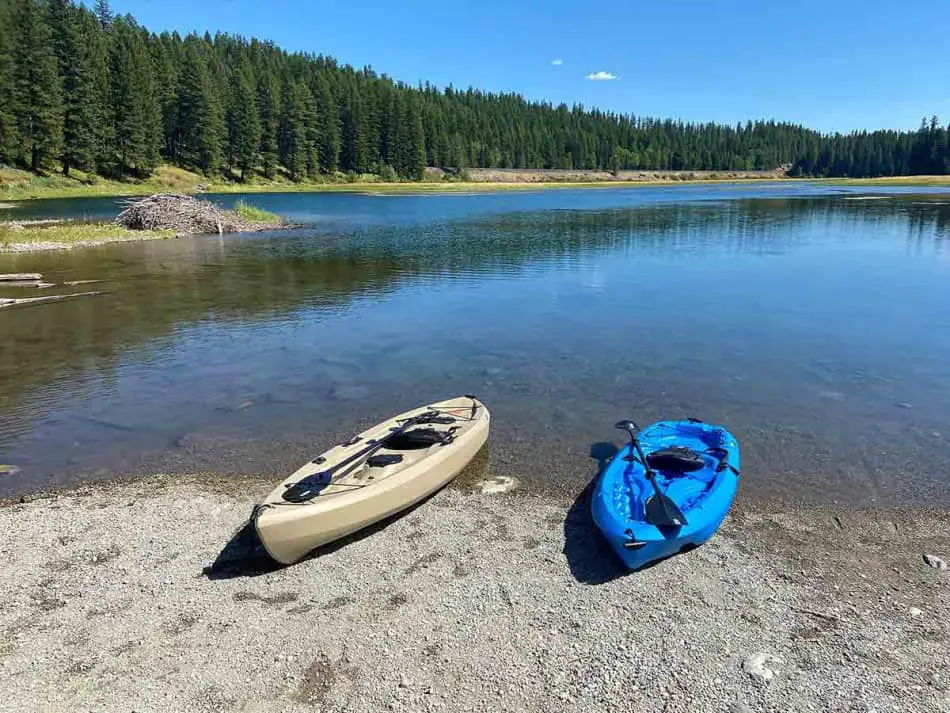
1. Kayak:
Various kayaks are used for various purposes; beginners should choose the one according to their needs.
Sit-in kayaks – They have much storage space and are constructed with foot braces to block your foot inside so that you may stroke the water more efficiently.
Sit-on-top kayaks – These have a molded-in depression that gives you a place to sit and are suitable for tall people. It’s easy to get in and out of it, comparatively.
Recreational kayak – These are much more stable and easy to handle kayaks if you plan to go kayaking in your leisure time. (Recommended For Beginners)
Touring kayaks – These are the kayaks that are preferably used for extended tours in rough waters. They are designed with small cockpits and narrow lengths.
Inflatable Kayaks – These portable kayaks can be folded up and stored in your house, occupying less space. They are usually preferred for calm waters.
Fishing Kayaks – As the name suggests, these kayaks are mainly for fishing and are much more stable so that one can stand and fish with spacious compartments to store things.
Tandem Kayaks – if you wish to spend time with your loved one or want some instructor to be there with you, this will serve your purpose as it holds place for more than one person.
Modular kayaks – These are expandable kayaks that can be used as a single or tandem kayak too!
2. Paddle:
Choosing a paddle is an important task; choose your paddle in proportion to your torso and the width of the kayak you’ll be sculling.
In the beginning, Matched Paddles blades are easier to learn since the blades are parallel to each other.
3. Lifejacket:
Choose a personal floatation device (PFD) that fits you well. It may seem unnecessary and a hassle to wear, but in the unlikely event that you need it, it could be the difference between life and death.
4. Bilge pump:
Carry a bilge pump to scoop out water from your kayak if you’re planning on going for longer paddles away from shore. It will help you keep your kayak from getting filled with water dripping down from the paddle.
Getting Started With Kayaking: Safety Tips for beginners
- Choose the waters where you are able to see the shoreline (close to the beach, a small lake or pond with calm waters).
- Don’t go too far or beyond your depth to begin with; keep the distance short and safe.
- Go with someone who has prior experience kayaking if you can
- Never forget to wear your PFD.
- Choose a bright and sunny day instead of a windy or rainy day.
- Keep track of your time limit, as kayaking can be physically exhausting if overdone.
- Always keep a whistle as a distress signal.
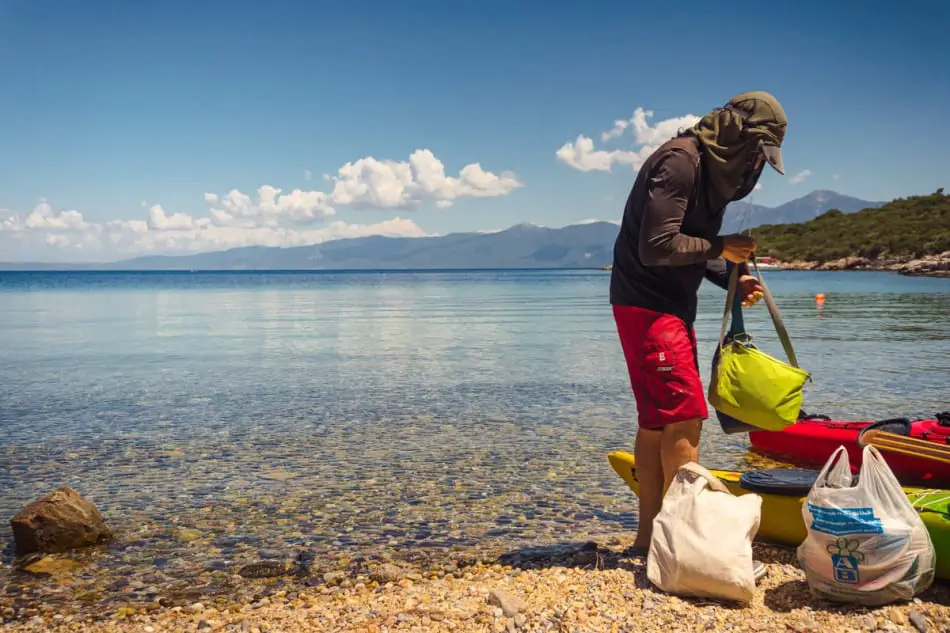
Personal Things To Be Carried
- Helmet
- Sunscreen
- Drinkable water
- Snacks
- Spare paddle
- First aid kit
- Dry bags
- Pair of clothes
- Footwear
- Self-rescue devices
-> Learn More about Self-Learning vs. Classroom Learning: Which Is Better?
How To Get In and Out of Your Kayak?
Getting in and out of a kayak is the first step to learning how to ride in one. You can have a hard time getting into and out of a kayak if you are not aware of how to do it.
Don’t worry; I’ve got your back.
Here are some ways to get in and out of a kayak:
1. From a Dock
Keep your kayak parallel to the dock, and place your paddle perpendicular to the boat, which will help you grab the boat if it floats away.
One important thing to remember is to keep your center of gravity low, so you are going to put your feet into the cockpit and go very low; holding on to the dock, you are going to slide your feet into the cockpit and slowly push yourself away from the dock and into the boat.
To come out of the boat, come up to the dock and lean up against the dock.
Pull your knees out of the cockpit, slide your legs out, and sit on the dock.
2. From a Shore
Case 1: Bring the boat right up where the cockpit is at the edge of the water; take the help of your friend and ask him to hold the boat in place with both his hands on either side.
Meanwhile, you may enter the boat and adjust yourself in, and your friend may push the kayak into the water from behind.
Case 2: If you are alone, bring the cockpit to the water’s edge and come to the other side of the boat.
Hold your paddle behind your back using both your hands with the spoon side of the paddle facing up.
Now put the paddle on the coaming behind the seat and hold both the paddle and the coaming firmly.
Now press the blade of the paddle down, sit or center your weight over the paddle blade and slide yourself into the kayak.
After getting into the kayak, put the paddle in one hand into the waterbed perpendicularly and make a fist with the other hand.
Now put your fist into the ground solidly and push yourself out into the water using your fist and the paddle.
How to Hold Your Paddle?
The back face of the paddle is called the convex, and the power face is concave or spoon. To hold the paddle, you want to use a light grip and not a squeezing motion (cause this tires your hands unnecessarily).
Line up the knuckles on the paddle shaft. Line up your right hand with the right blade and your left hand with the left blade. Make an “O” with your thumb and index finger and the rest of the fingers on the shaft gently.
The grip width should be such that when you put the center of the paddle on your head, you’ll have a right angle on both arms.
The Basic Types of Strokes You Need To Know About
1. Forward Stroke
This stroke consists of three parts.
As the paddle blade is pushed into the water, it should be by your toes in the catch phase.
During the propulsion phase, you will pull yourself back, unrotate your torso, and slice the blade out of the water using your hips.
During the exit phase of the paddle, the torso rotates forward and then unrotates back for propulsion. In order to catch, the paddle must rotate from one side to the other after exiting on one end.
Make sure your hands are in the plane—that is, that your right hand and left hand both pass in front of your nose—and that neither of your hands drops after the stroke.
Your body stance should be more upright, with perhaps a very tiny forward lean-off with toe catch and hip departure before adding the rotation component.
2. The Reverse Stroke
The Reverse Stroke is the opposite of forward stroke; this uses the back face of the paddle between where you are and the stern of the boat.
Look back and paddle in an unwinded direction.
3. The Sweep Stroke
In order to turn around your kayak or pivot to go back from where you came, you use a sweep stroke.
It combines forward sweeps and reverse sweeps. Sweep Stroke is the basic turning action.
When you continue to stroke forward on the same side of the boat, the boat will turn the other way gradually.
To put it simply, the sweep stroke increases this impact. Unlike a forward stroke, the sweep involves moving the blade, so it has a wider arc on the boat’s side.
A sweep to the left or right will cause the kayak to turn left and vice versa.
-> Learn more about the 7 best websites for self-learning
Conclusion
Last but not least, even if you are trained, it is better to take someone experienced or an instructor with you rather than going alone.
Kayaking is a great adventure sport for everyone. It actually keeps your tissues and joints active; it is a great cardio exercise as well.
It strengthens your arm, shoulder muscles, and back as well. In today’s busy world, we should take time for ourselves and our family and friends too.
There are ample options available to connect with everyone around us, but including nature in our lives can work wonders and heal our minds and souls.
This article was all about kayaking, how you can learn to kayak at a beginner’s level, and how to teach yourself to Kayak.
I hope this helped you out; let me know how your experience was.