There is no dearth of resources online for you to self-teach animation. The challenge is choosing a particular approach that actually works for you. A bespoke method based entirely on your skills, objectives, and available resources is usually the most pragmatic way ahead.
Here are the chronological steps in a customizable approach to self-teach animation:
- Learn the basics of animation.
- Choose your preferred type of animation.
- Get the essential hardware and software.
- Take preparatory steps before you animate.
- Start your animation project.
- Hone your animation skills.
Self-teaching animation is not daunting, but attaining a skill set for reasonably good quality creation is an uphill journey. This ultimate guide can help you develop a sound understanding of all the essential elements and make the right choices to become an animator.
1. Learn the Basics of Animation
Animation and motion pictures or video have the same foundation. A video or motion picture is several photos or frames playing out every second. Likewise, an animation is several frames or shots of inanimate objects brought to life through motion or movement.
The fundamental difference between animation and video is the nature or composition of what’s in the frame. In a video or motion picture, you have real people or objects recorded using cameras. Animation uses analog or digital drawings in 2D and object & character rigs in 3D.
Animation Glossary: The 15 Essential Terms
The animation glossary has more than 100 terms and words. The list grows in time. You don’t need to understand every technicality from the outset. However, you must know the fundamentals to decide the type of animation you want to learn.
- Pose: The exact position, form, and posture of an object or subject at a time.
- Key Pose: A significant or defining pose that will stand out in a series of poses.
- Frame: A complete drawing/picture frozen in time, without any objects/subjects moving.
- Key Frame: A significant frame that will be the highlight of a series of frames.
- Shot: A continuous recording of poses or frames until cut or changes in point of view.
- Scene: A series of continuous shots in a particular setting or sequence.
- Breakdowns: Poses and frames that connect key poses and key frames.
- Inbetweens: Filler poses and frames that make motions look smooth.
- Frame Rate: The number of frames/second, usually 24 in animation.
- Timeline: The view of your animation in progress, typically in software.
- Timing: The number of frames per motion or movement of an object or subject.
- Spacing: The spatial movement of an object or subject between two frames.
- Easing: Regulating the spacing to ensure the movements appear as desired.
- Skinning: Frame representation showing preceding and succeeding poses.
- Compositing: Combining all visual elements to create the animated video.
The 12 Principles of Animation
Currently, all types of animation are classified as 2D, 3D, or both. The 12 basic principles of animation are relevant for both 2D and 3D, albeit the latter is more complex.
You should consider reading The Illusion of Life: Disney Animation by Ollie Johnston and Frank Thomas, available from Amazon.com.
No products found.
Olliver Martin Johnston Jr. and Franklin Rosborough Thomas were pioneers, legendary animators, and among Disney’s Nine Old Men. Their book, The Illusion of Life, is widely regarded as the animation bible.
According to Wikipedia, the 12 principles of animation are:
- Squash & Stretch
- Anticipation
- Staging
- Straight Ahead / Pose-to-Pose
- Follow Through & Overlapping Action
- Slow In & Slow Out
- Arcs
- Secondary Action
- Timing
- Exaggeration
- Solid Drawing
- Appeal
Here’s an Alan Becker Tutorials video elaborating the principles in action:
2D vs. 3D Animation
2D and 3D animation share the same roots but are worlds apart. As a beginner, focus on the most significant differences between 2D and 3D from an animator’s perspective: point of view, depth of field, and frozen pose or freeze-frame shot.
Point of View (POV)
2D animation has only one fixed point of view per frame. What is not visible in the frame doesn’t have to exist. Hence, if you are drawing a key pose focusing on a subject’s face, you don’t need to draw the rest of the body until you have to include it again in another frame.
Depth of Field (DOF)
2D has only 2 axes: width or x and height or y. 3D has the third axis z for depth.
Since 2D animation does not have any depth of field, you do not have to draw or create an object or subject in the background not visible or concealed by something in the foreground for a specific frame.

However, 3D animation requires all subjects and objects in a frame to exist in entirety for a shot or scene.
Frozen Pose or Freeze-Frame
A frozen pose is a subject or objects not moving for a few frames. A freeze-frame shot is similar wherein subjects and objects don’t move. The frame is essentially static. You can use frozen poses or freeze-frame shots in 2D animation.
Neither frozen pose nor freeze-frame works in 3D animation. If a subject doesn’t move in 3D, it appears odd, as if dead. Freeze-frame as a filmmaking technique or director’s device works differently. The tactic is then for a narrative or cinematic effect, such as a dramatic pause.
2. Choose Your Preferred Type of Animation
The primary choice is between traditional or 2D and contemporary or 3D animation.
Subsequently, you can choose among the following:
- Motion graphics for texts, logos, and special effects.
- For 2D: celluloid, software, or both.
- For 3D: software, stop motion, claymation, mechanical, cut-out, and rotoscope.
Motion Graphics
The simplest form of animation is motion graphics, essentially limited to inanimate objects, such as texts or logos and special effects. You can use motion graphics in other animations, too. The advertising and broadcasting industries, among other sectors, use motion graphics extensively.
Also, motion graphics are an integral part of filmmaking, be it a short or a feature, television series, or web show. The titles, credits, posters, and various other materials are created or enhanced in post-production using different types of motion graphics.
2D Animation Techniques
2D animation, whether celluloid or software-based, requires drawing. You must be good at drawing people, animals, regular and abstract objects, sceneries, and all kinds of details, whether foreground or background.
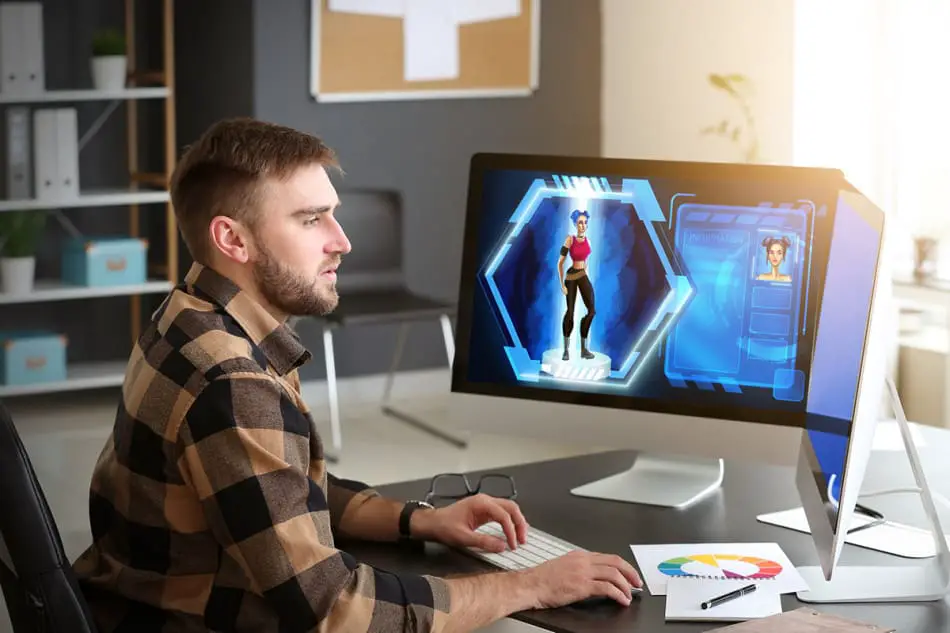
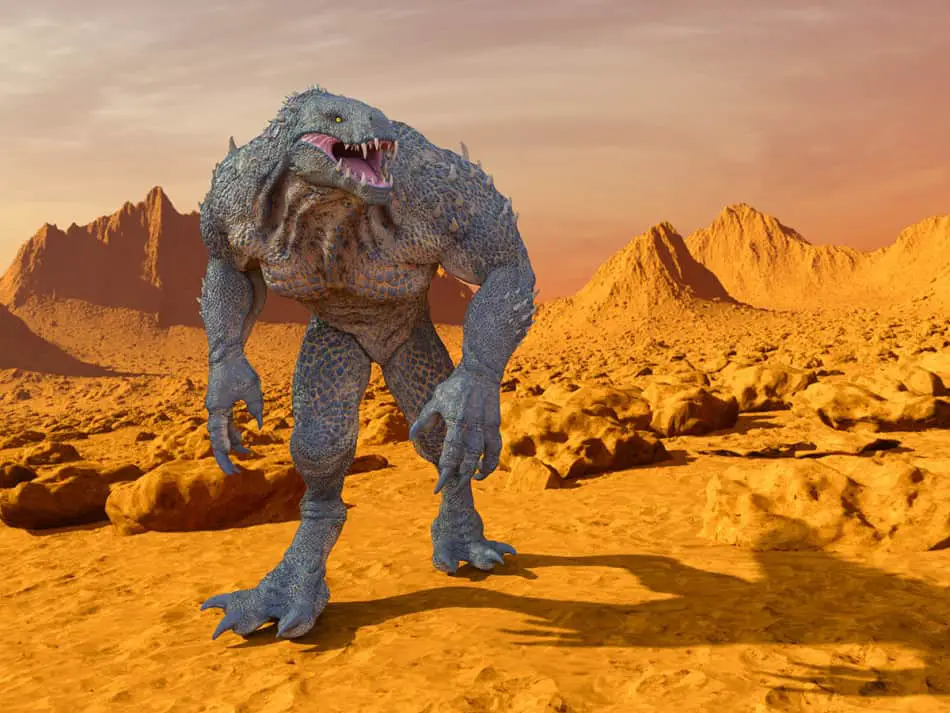
3D Animation Techniques
3D animation does not require drawing, although it is a valuable skill that can enrich the production quality or many specific attributes. Stop motion, be it claymation, mechanical, or cut-out, requires sculpting, molding, or 3D printing skills.
Hybrid Animation Techniques
Rotoscoping combines 2D and 3D animations. Motion capture, the technology used in the making of Avatar and other films, is an advanced and expensive form of animation. For beginners, the real choice is between traditional or 2D and software-enabled 3D animation.
3. Get the Essential Hardware and Software
The list of essential hardware and software varies based on your preferred type of animation. One common requirement is a computer, laptop, or tablet. A mid-range computer may work for 2D animation. 3D animation demands better specifications.
Prioritize the following when selecting your device:
- CPU
- RAM
- GPU
- HDD or SSD
Also, you need a good-resolution monitor or display. Furthermore, you must have a premium-quality mouse with a high DPI, FPS, IPS, and polling rate for reduced latency and better responsiveness.
All animation hardware and software have minimum system requirements, so you must choose what is compatible with the device you already use. Otherwise, you may have to upgrade.
Essential Hardware
Software-based 2D animation requires a medium for you to draw. You may use standard drawing or painting software available on Windows or Mac. A mouse may not be practically convenient, though. You can draw on paper and use their digital versions for the animation.

The most pragmatic solution is using a drawing tablet or trackpad. You may not want to invest a lot of money at the outset, so consider an entry-level drawing tablet compatible with your computer or laptop.
You can check out the Wacom One Student Drawing Tablet on Amazon.com. This reasonably priced trackpad is compatible with Windows, Mac, and Chromebook.
No products found.
You may upgrade to Wacom Intuos Pro Digital Graphic Drawing Tablet as you hone your animation skills. The Windows and Mac compatible model is available in small, medium, and large sizes. It’s also available from Amazon.
No products found.
In time, you will need something like the Wacom Cintiq Pro, from Amazon.com. The 4K graphic drawing monitor with its ultra-sensitive pen capable of sensing 8,192 pressure levels is what the pros need.
These drawing tablets, pens, and monitors are not for 2D animation only. You can create 3D drawings with these tools and compatible animation software.
Essential Software
You can consider free, freemium, or paid software for both 2D and 3D animation. A few premium animation software are free or priced very low for students. If you have a student id, use it to bag a generous discount or free access to such applications.
Here is a list of essential software for you to choose from:
One of the leading animation software is AutoDesk Maya. You can use it for free as a student. The free student license used to be valid for three years but is only one year now. However, Autodesk Maya can be an overwhelming animation software for most beginners.
You may wish to self-teach animation to become a professional animator or independently create productions that you can monetize. In that case, you may find the Autodesk Maya 2022: A Comprehensive Guide from Amazon.com to be of invaluable help. It teaches you how to do just that.
No products found.
Toon Boom Harmony is a popular 2D animation software. Try it for 21 days for free without any credit card information. Blender is an excellent open-source 3D animation software. You can download it for free.
4. Take Preparatory Steps Before You Animate
Animation, whether 2D or 3D, is an interim step. You need extensive pre-and post-production. Begin with a story, write its script or screenplay, develop the concept, draw the first sketches, and consider animatics. Intermediate and professional animators also use previs.
Post-animation production is similar to the steps pertinent for videos or movies. You need compositing, color correction, editing, audio recording or dubbing, sound design or music, and other special effects deemed necessary based on the project requirements.
You don’t have to develop high-concept stories and flawless scripts nor be a professional music composer or editor to self-teach animation. However, preparing for basic storyboarding, scripting, concept art, and editing are prerequisites for any animated work.
5. Start Your Animation Project
As you choose your animation hardware and software, you will learn about the key differences in how they work. Most 2D and 3D animation software demand a learning curve, so you must invest some time and effort. However, you must know two more significant facts.
Bitmap Images vs. Vector Graphics
2D animation can use a bitmap, also known as raster, and vector images. 3D animation mainly uses vector-based graphics. If you plan a 2D animation project, choose vector-based images for scalability. Bitmap or raster images are pixel-based. The animation will blur when stretched.
On the flip side, bitmap images may look more appealing if the animation is of high resolution. However, bitmap images may take much more space and are not readily convertible to vector graphics. It is relatively easier to convert vector-based images to bitmap graphics.
Here is an informative guide distinguishing bitmap and vector images.
Stepped vs. Splined Animation
Stepped animation comprises the key poses you create. The animation software will not interpolate anything, which means no in-betweens. Your key poses or frames are what make the final video. Splined animation includes interpolation.
Most animation software support splining. The splining process brings in the curvy motions connecting your key poses or frames. Thus, what you get in the end is a smoother movement, but the in-betweens are essentially fillers and fake.
You may design an animation using the stepped method and then spline the material using the software. Alternatively, you can begin with a splining approach. 3D animation is usually easier when you spline in real-time while developing the key poses and frames.
Watch this spline vs. stepped curves video featuring Autodesk Maya:
6. Hone Your Animation Skills
Contemporary 2D and 3D animation software have preloaded rigs for objects and characters. You may design unique rigs, too. Many conventional animation tasks have become simpler. However, that has also made this niche more demanding. Your skills must impress.
Consider reading Richard Williams’ The Animator’s Survival Kit and Wes Anderson’s The Making of Fantastic Mr. Fox. Both are available on Amazon.com and can give you some excellent tips on how to perfect your animating skills.
No products found.
If you have a few hours, check out this Beginner Course from Animatron University on Udemy. The on-demand video is available for free.
Conclusion
Perfecting animation takes years of practice and exceptional patience. However, learning or self-teaching animation is not difficult if you have a penchant for it. The resources laid out in this guide can help you from the beginner through the intermediate phase.