Just like how fabrics have specific appliques based on different patterns, so does Quilting. It is even easier when you have background knowledge of sewing.
However, you may be wondering if you can teach yourself to quilt – read on to find out!
It is entirely possible to self-learn quilting and knowing where to start is the key. First, you must understand what fabric to use, how to prepare, and how to cut it. Then you must collect the required tools and learn the various techniques.
When you’ve grasped a few of these key principles, you’ll be ready to begin working on your first quilt.
This article will go over the fundamental concepts of quilting, the steps and processes involved, and everything you need to know about it.
Let’s dive into it!
Teaching Yourself to Quilt In 8 Simple Steps
Quilting, like any other hand-skill process, necessitates completing a series of steps to achieve maximum efficiency.
Most of these steps are self-taught and thus do not require any additional assistance.
The 8 steps you can take to teach yourself are outlined below:
-> Read Also What Is An Autodidact?
Step 1: Choose Your Quilt Pattern

The first and easiest step in quilting is choosing a pattern to work with.
As a beginner, a subtle design (such as baby quilts or triangles) would be ideal to help you understand the fundamental techniques of quilting.
Chances are, you’ve likely been drawn to some quilts patterns and have often wondered how you could recreate them.
You could start there by creating a quilt pattern.
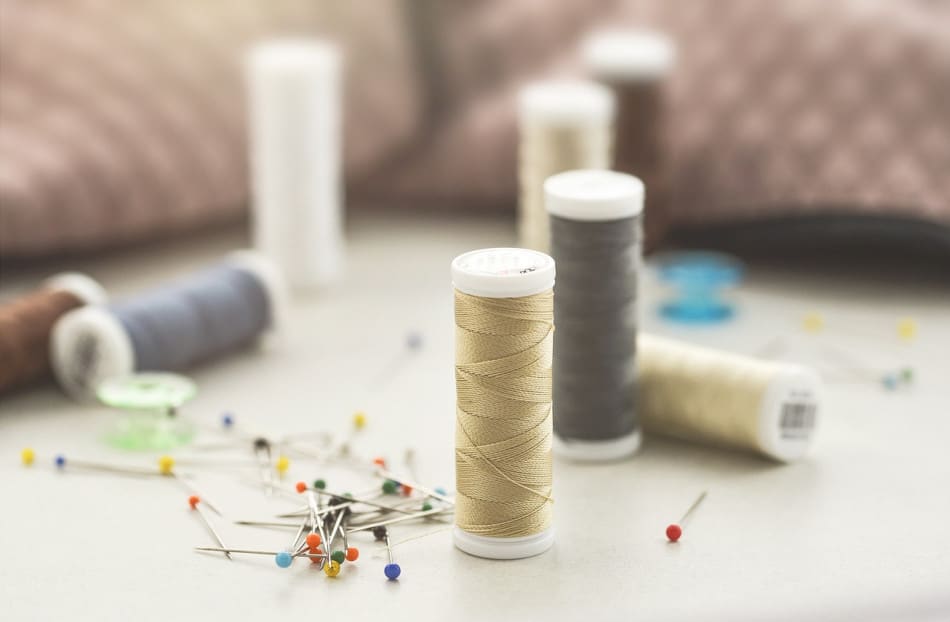
Step 2: Choose a Suitable Fabric
Choosing the right fabric is an essential step in self-learning the quilting art. Unfortunately, it is also the most expensive.
It’s perfectly normal and expected for you to have difficulty deciding which fabric to use. Even seasoned quilters experience this issue.
Typically, quilting cotton, a fabric created especially for quilting, is the right choice because it is composed entirely of cotton.
Although the complete cotton fabric isn’t always necessary for quilting, for a beginner, it is the best one.
The quilt pattern you choose will tell you how much of each fabric color you’ll need. A yard of fabric is typically 40×36 inches, and you can get the DIY Quilt Pattern.
The dimensions you desire will be determined by the size and type of quilt you wish to create.
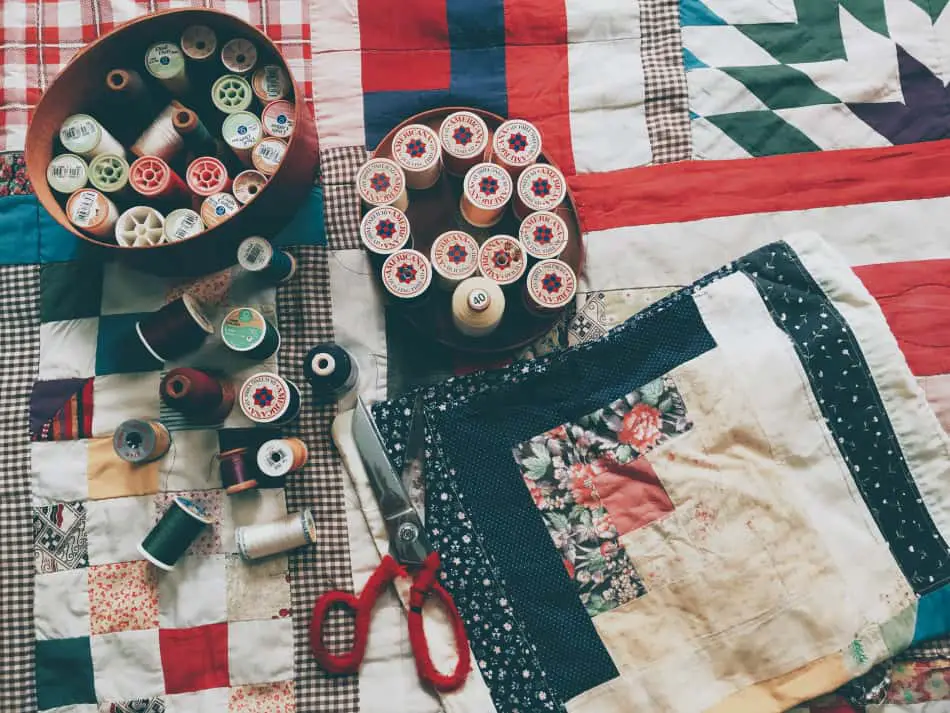
Step 3: Gather the Necessary Tools

Aside from fabric, you need certain tools to start quilting. What is quilting without the necessary tools?
These tools are a must for the step-by-step process of quilting. Some are used for measuring, others for cutting, and some for actual quilting.
Some of these tools may be expensive, such as a sewing machine, but there are alternatives to most, which come pretty cheap.
As a beginner, you do not have to buy a sewing machine if you don’t want to; you can simply ask friends and family that have one – or rent one.
Below is a tabular representation of the tools you need for various stages of quilting.
| Measuring Tools | Cutting Tools | Basting Tools | Sewing and Quilting Tools |
| Quilting Ruler | Rotary cutter (45mm) | Basting Pins | Sewing Machine (Longarm for specialists) |
| Straightedge | Scissors | Basting Spray | Hand Needle |
| Chalk/marker | Cutting Mat | Batting | Thread |
Step 4: Prepare and Cut the Fabric Right
Before cutting the quilt fabric, it is critical to ‘prepare’ it by giving it a light wash to pre-shrink the fabric and make cutting and sewing easier.
Although not every quilter does this, it is recommended.
To get precise and accurate cuts, ensure your fabric is not wrinkled, you can achieve this with a pressing iron. A rotary cutter (preferably a 45mm one) is better than a pair of scissors.
A cutting mat is also essential at this stage. You don’t want to dull your rotary blade.
Pay close attention at this stage, as a sloppy cut may necessitate purchasing new fabric. Begin by squaring up the edges and placing them on your cutting mat.
While your rotary cutter is cutting, use a quilting ruler to hold the fabric in place, align it, and measure your cuts (preferably twice).
When cutting folded fabric, make a perfectly perpendicular cut (90 degrees) to the fold line when cutting folded fabric.
You can also cut multiple layers of fabric once to speed up the process, though going slowly is best for a beginner.
Step 5: Begin Your Sewing
Once all the preceding steps have been completed, it is time to begin stitching a quilt.
To begin, sew the individual rows of your quilt together. Two fabric squares with patterns facing each other should be used as the first two stitches in your row.
Then, sew a straight stitch to create a 14-inch seam.
To help your quilt come together neatly, you must sew a perfect scant 1/4′′ seam.
After that, repeat the technique with the subsequent square in the row to combine them. Sew the rows together in long, thin strips by working your way across each row.
Step 6: Baste the Quilt
Firmly place the quilt and all of its layers, and baste neatly. Basting can be accomplished in two ways: with safety pins or with basting adhesive sprays.
A quilt layer consists of the quilt fabric, the batting (thick woolen fabric in between to give it a snuggly feeling), and the backing.
Lay out the fabrics with the pattern side of the backing down, the batting in between, and the pattern side of the quilt front facing up.
Align all of the edges before ironing out any wrinkles.
Step 7: Quilt the Pieces
After basting, it’s time to sew or, in this case, “quilt” all three pieces together. It can be done by hand or with a sewing machine.
The best way to sew a quilt sandwich together, especially as a beginner, is to “stitch the ditch” (sew closely to already created seams).
For a step-by-step procedure, check out this video for a step-by-step guide to all the processes.
Step 8: Bind the Quilt
Binding is the final quilting process. A binding is a thin strip of fabric used to cover the edges of a quilt.
After which, you sew the binding around the perimeter of the quilts to ensure a smooth finish. The fabric’s rough edges are sewn together with a ¼-inch seam.
-> Learn More about Self-Learning vs. Classroom Learning: Which Is Better?
Hand Quilting Vs Machine Quilting, Which Should You Choose?
When learning to quilt, you can choose between hand quilting and machine quilting. It is best to weigh all options before making a decision.
Hand Quilting
This is a traditional technique that involves hand stitching the quilt fabrics together. It is done in two ways: by hand and by sewing machine. It is a slower and more meticulous process.
Quilting by hand requires great care and patience.
Hand quilting can be accomplished by hooping (weaving the thread on both sides of the fabric to hold it together), and as with anything done by hand, only skilled hand quilters create the most amazing ones.
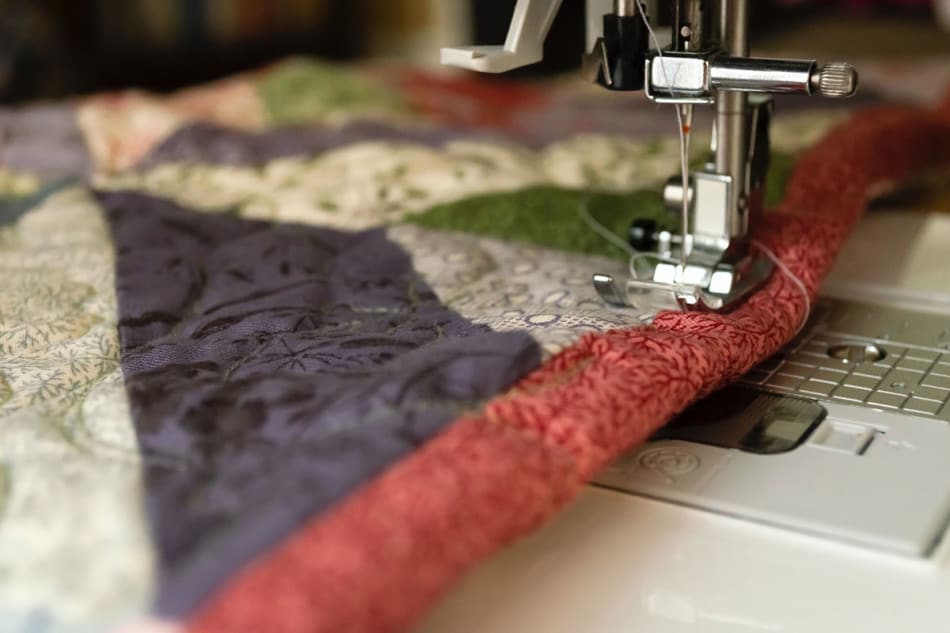
Machine Quilting
The use of a sewing machine is a popular quilting method due to its speed and capabilities. Any sewing machine can be used, but the Brother machine is specifically designed for quilting.
Straight-line stitching and free-motion quilting techniques (moving the fabric around without the machine needle) are two machine quilting techniques.
Before deciding whether to hand or machine a quilt, certain factors must be considered.
Hand quilting is less expensive because there is no need for a machine or special equipment, but it takes more time. The pattern to be created is also important.
Some patterns are better achieved by hand quilting, while others are better achieved by machine quilting.
Frequently Asked Questions
Q: Do I need a Sewing Machine to Quilt?
Although it is not required, it is recommended, especially for beginners, to purchase a sewing machine.
You can quilt by hand, but be prepared to make mistakes and work at a slower pace.
Q: What Sewing Machine Should I Get for Quilting?
General-purpose quilting machines like Brother and SINGER quilters are recommended.
Even though sophisticated sewing equipment is ideal, machine quilting can be accomplished with almost any sewing machine.
-> Learn more about the 7 best websites for self-learning
Final Thoughts
Quilting is not as difficult as it sounds, even for newbies. It doesn’t require hard sessions of formal training either.
All you need to do is gather the necessary tools and carefully follow the steps outlined in this article, and you’ll be a ready-made, self-taught quilter!
References
- https://www.waxandwanestudio.com/blog/overview-of-the-quilting-process-part-1
- https://www.waxandwanestudio.com/blog/overview-of-the-quilting-process-part-2
- https://www.seasonedhomemaker.com/learn-the-basics-of-quilting/#:~:text=Anyone%20can%20learn%20to%20quilt,learn%20the%20basics%20of%20quilting.
- https://weallsew.com/how-to-make-a-quilt/
- https://www.wikihow.com/Make-a-Quilt?amp=1