
Do you want to be a rockstar? Well, forget the guitar lessons and expensive studios.
Now you can learn how to produce professional-sounding music from the comfort of your own home, for a fraction of the cost.
In fact, what if I told you that you can even do it for free?
It definitely is possible to learn audio engineering/music production on your own. You just need to teach yourself the foundations of the four pillars of music – songwriting, recording, mixing, and mastering. With these basics down, you can start creating your own tracks.
In this guide, we’ll show you how you can get started with learning each one of these topics.
We’ll also share some resources that will help you on your journey to becoming a self-taught audio engineer/music producer.
So, fire up your computer and let’s get started!
4 Skills Required to Learn Audio Engineering/Music Production on Your Own
A lot of people think that you need to be some sort of musical genius to create great-sounding music.
But the truth is, anyone can do it – you just need to have the right skills.
Here are the four skills that you’ll need to learn audio engineering/music production on your own:
-> Read Also What Is An Autodidact?
1. Songwriting

The first step in learning audio engineering/music production is understanding songwriting. It is the backbone of any track, and without a good song, you can’t have a good track.
The process of songwriting involves coming up with melodies, chord progressions, and lyrics.
All of these elements need to work together to create music that is enjoyable to listen to.
Remember, you don’t need to be a lyricist or composer to write a good song. You can start by learning the basics of melody and harmony.
Once you understand these concepts, you can start experimenting with different chord progressions and rhythms.
Here are two methods you can use to get started with songwriting:
A) Lyrics first, melody later:
Start by writing a poem or story. Once you have the lyrics down, try to come up with a melody that goes along with them.
You can use a piano or guitar to help you find the right notes. If you don’t know how to play an instrument, you can use an online tuner to find the right notes.
B) Melody first, lyrics later:
Start by humming or singing a melody that you like. Once you have the tune down, try to come up with lyrics that fit the mood of the melody.
You can use an online thesaurus to help you find the right words.
Depending on your preference, you can start with either method. The important thing is to just get started and see where the song takes you.
2. Recording

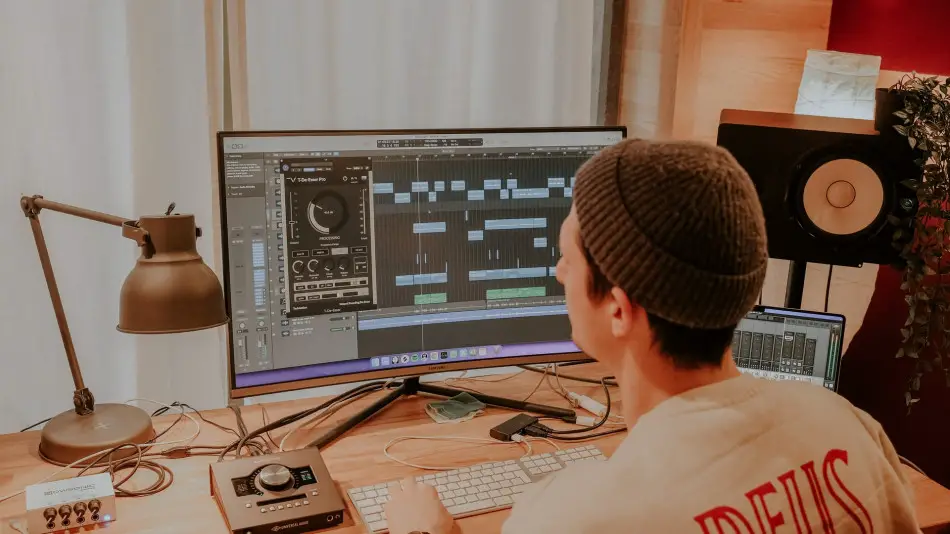
Once you have your song, the next step is to start recording it. This involves setting up microphones, running cables, and using a digital audio workstation (DAW) to record your instruments and vocals.
The process of recording can be daunting, but it doesn’t have to be. Start by setting up your workspace. Make sure you have a comfortable chair and a flat surface to work on.
Next, set up your microphones and position them in the room so that they pick up the sound of your instruments and vocals clearly.
Finally, fire up your DAW and start recording!
Remember, the goal is to get a good recording of your song.
Don’t worry about getting it perfect – you can always go back and fix mistakes later.
To help you out, take a look at our recommendations for beginner-friendly recording equipment:
- Best Digital Audio Workstation (DAW): Avid Pro Tools
- Best Microphone: Audio-Technica AT2020
- Best Audio Interface: Focusrite Scarlett Solo
- Best Headphones: Sennheiser HD-206
After you’ve got all your equipment and recorded your song, the next step is to mix it.
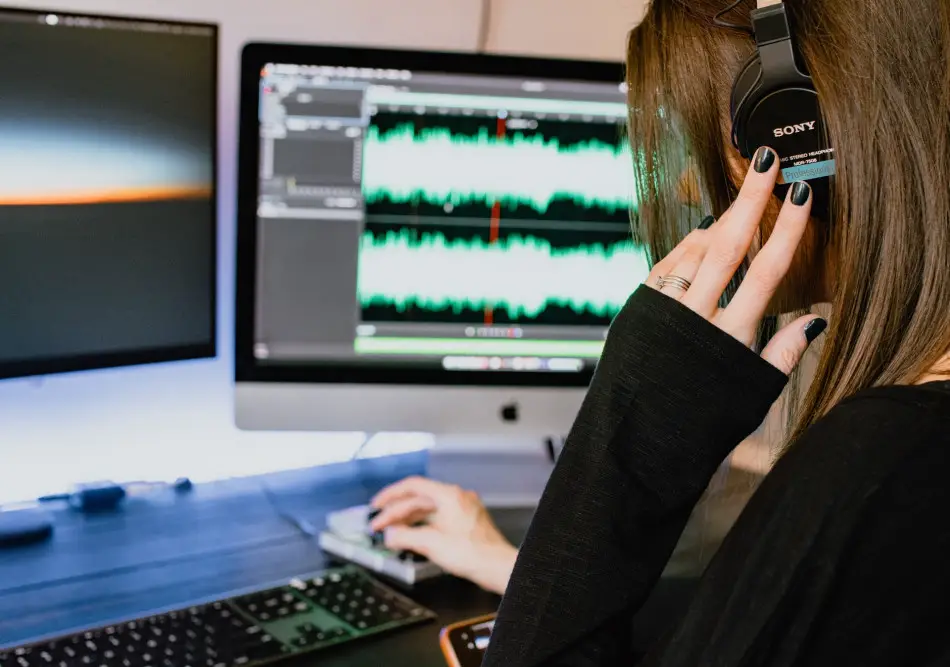
3. Mixing
The process of mixing is where you take all of the recorded tracks and balance them out so that they sound good together.
This involves adjusting the levels, EQ, panning, and reverb of each track.
First, start by setting the levels of each track. You want the vocals and instruments to be audible, but you don’t want them to be too loud or too soft.
Next, start adjusting the EQ (equalization) of each track. This is where you can really start shaping the sound of your song.
Experiment with different frequencies until you find a balance that you like.
Finally, add some reverb and panning to each track. Reverb will make your tracks sound more natural, and panning will help them stand out in the mix.
Mixing can be a tricky process, but there are a few things you can do to make it easier:
- Label your tracks properly – this will help you keep track of what’s going on.
- Color code your tracks – this will help you visually see which tracks belong together. For e.g., all the drums can be green, all the vocals can be red, etc.
- Use busses – a bus is a group of tracks that are routed to the same place. This can be helpful if you want to apply the same effects to multiple tracks.
Once you’ve mixed your song, the next step is to master it.
4. Mastering
Many people think that mixing and mastering are the same things (since they’re often used together), but they’re actually two different processes.
Mixing is where you take all of the recorded tracks and balance them out so that they sound good together.
Mastering is where you take the mixed track and optimize it for playback.
There are three main steps involved in mastering:
Step 1: Refine the Volume
You want the overall volume of your track to be at a good level. Not too loud, and not too soft.
This will make it easier for people to listen to your track without feeling like they need to adjust the volume every few seconds.
You can use a limiter to help you with this.
A limiter is a type of compression that allows you to boost the overall volume of your track without clipping (distorting) the audio.
Step 2: Ensure That the Tracks Play Well on All Systems
You want to make sure that your track will sound good on all types of speakers and systems. This includes everything from car stereos to earbuds.
To do this, you need to ensure that your track has a good balance of low-end, mid-range, and high-end frequencies. You can use an EQ to help you with this.
EQ, as we’ve mentioned before, is short for equalization. It’s a tool that allows you to boost or cut certain frequencies in your track.
This can be helpful if you want to make your track sound fuller, or if you want to get rid of unwanted noise.
Step 3: Arrange Tracks in The Correct Order (For Albums)
Mastering is not just about making your tracks sound good individually, but also about making sure they flow well together.
If you’re releasing an album, you’ll need to arrange the tracks in the correct order. Each track should flow into the next one, and the overall album should have a good arc (beginning, middle, and end).
You can use fades and cross-fades to help with this. A fade is when the volume of a track gradually gets quieter or louder.
A cross-fade is when two tracks are fading in and out at the same time.
Once you’ve learned the basics of songwriting, recording, mixing, and mastering, you’ll be well on your way to becoming a music producer.
Note: Remember, this is just a basic overview of each process to help you get started. There are a lot of technical details involved in each step, so be sure to do some research and practice before you start working on your own tracks.
-> Learn More about Self-Learning vs. Classroom Learning: Which Is Better?
List of Beginner-Friendly Guides to Learn Audio Engineering/Music Production
Trying to find suitable guides to learn audio engineering/music production can be like searching for a specific pebble on the ocean floor.
There are quite literally millions of results, and most of them are either too vague or too advanced.
To save you the trouble, we’ve compiled a list of beginner-friendly guides to help you learn audio engineering/music production:
| Process | Reference Guides |
| Songwriting | The Art of Songwriting by Ed Bell: This book is a great resource for learning the basics of melody and harmony. Songwriter’s Market 40th Edition: This publication includes articles on various aspects of songwriting, as well as first-hand accounts from successful songwriters and industry professionals. |
| Recording | The Recording Engineer’s Handbook by Bobby Owsinski: A music-industry standard to the art of audio recording, this book gives an in-depth look at the techniques and equipment used in today’s recording studios. Audio Engineering 101 by Tim Dittmar: A comprehensive guide to the basics of audio engineering, this book covers topics such as microphone types and placement, EQ, and compression, along with practical advice for making it in the music industry. |
| Mixing | Mixing Secret For The Small Studio by Mike Senior: A mixing bible for small-studio owners, this book shows you how you can make professional-sounding mixes without expensive outboard gear, all within the comfort of your own home studio. Step By Step Mixing by Bjorgvin Benediktsson: A truly fantastic guide that takes you through the mixing process from start to finish, with clear explanations, common problems with solutions, and helpful tips. |
| Mastering | The Mastering Engineer’s Handbook by Bobby Owsinski: Another essential book from Bobby Owsinski, this time focusing on the mastering process for complete beginners. If you’re serious about audio engineering, then this is a must-read. Mastering Audio: The Art and the Science by Bob Katz: Suitable for beginners as well as experienced mastering engineers, this book covers all the latest technologies, along with core concepts and audio philosophies. |
Frequently Asked Questions (FAQs)
Here are some of the most commonly asked questions about audio engineering/music production:
Q.1. What do I need to get started with learning audio engineering/music production?
A. All you really need is a computer and some basic recording equipment. However, there are a lot of different software programs and plugins that can make your life easier (and help you get better results).
Q.2. How long does it take to learn audio engineering/music production?
A. Most people will take around 4-6 years to actually start producing professional-quality tracks. But learning the basics (recording, mixing, etc.) can be done relatively quickly (in a year or so).
-> Learn more about the 7 best websites for self-learning
Final Thoughts
Being an audio engineer/music producer is a lot of hard work. But it’s also a lot of fun.
If you’re passionate about music and have the dedication to learn, then there’s no reason why you can’t excel in the field.
Some of the most famous producers such as Dr. Dre and RZA were self-taught and were able to make it.
And so can you!